Appearance
Host Your Website
Update Website to a Public Server
In this assignment, you will transfer your company web pages to a free hosting service. Your pages will be served as a standard website
You will create an account on Netlify, a web hosting site that offers a free plan to host 1 website. You will then create a project for your website. Then upload your files from Assignment 3
Once complete, you can view your live on the Internet website
Lastly, you will submit the full Unified Resource Locator (URL) in Canvas for grading
Create an account
You will need to create a user account on the Netlify web service
Connect to https://www.netlify.com/
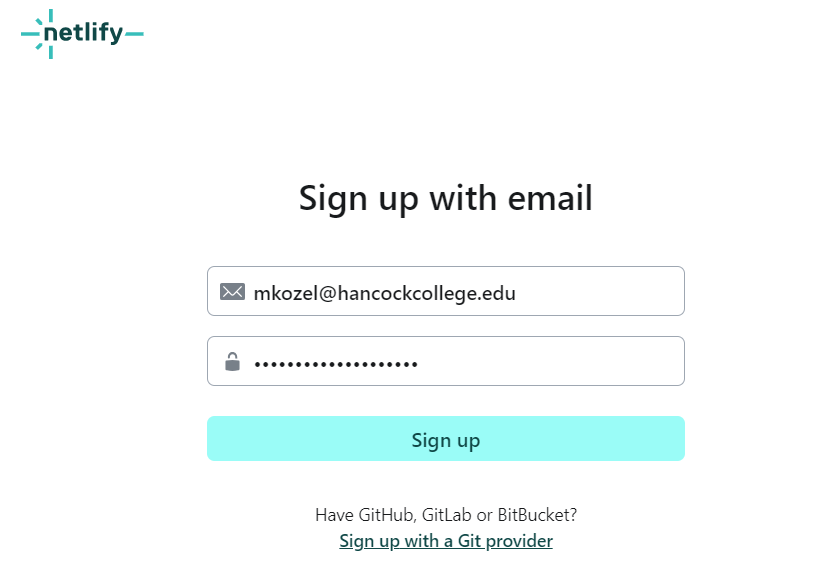
Locate and click on the Sign up button
Click on the Sign up with email link
Enter your account info
- Email
- You can use your Hancock email if yo do not plan to use this account after CS-102
- Otherwise, you should use a personal email address so you will have access after you lean Hancock
- Password
- Use a strong password with numbers, upper and lowercase letters, and at least 1 punctuation character
- Remember this password...you will need it later
- Email
Click on the Sign up button
Verify your email address
- Open your email and view the verification email from Netlify
Note that Hancock may block the email as suspicious
Look in your Junk Email folder if the email does not show up your inbox in a couple of minutes
- Click on the Verify email button in the email
- This should open a new browser window. If not refresh the browser window you opened to sign up
Finish registration
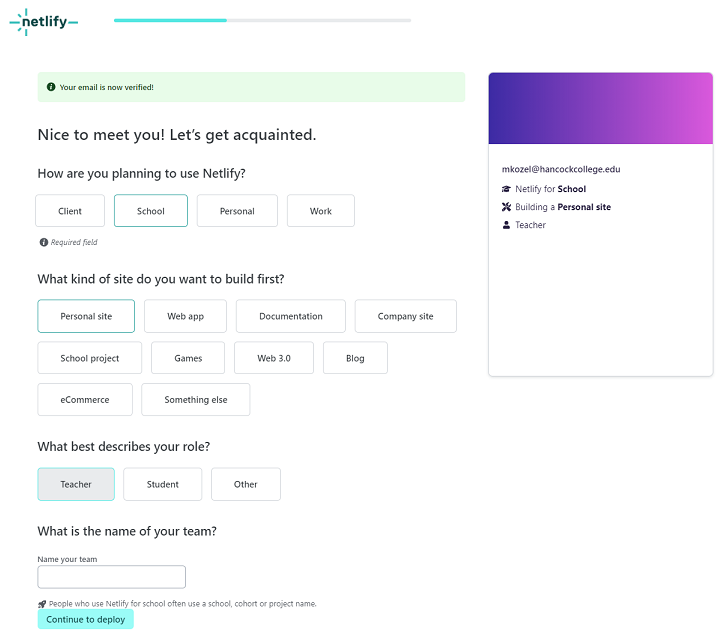
Click School for How are you planning to use Netlify?
You can skip or complete the other questions
Click Continue to deploy button
Create Your Site
Make sure that your files are ready for upload:
- all files are named correctly
- all image files and the style.css are ready
- your main .html page is names index.html
- everything is in a single folder
- all files that are not part of your site are removed
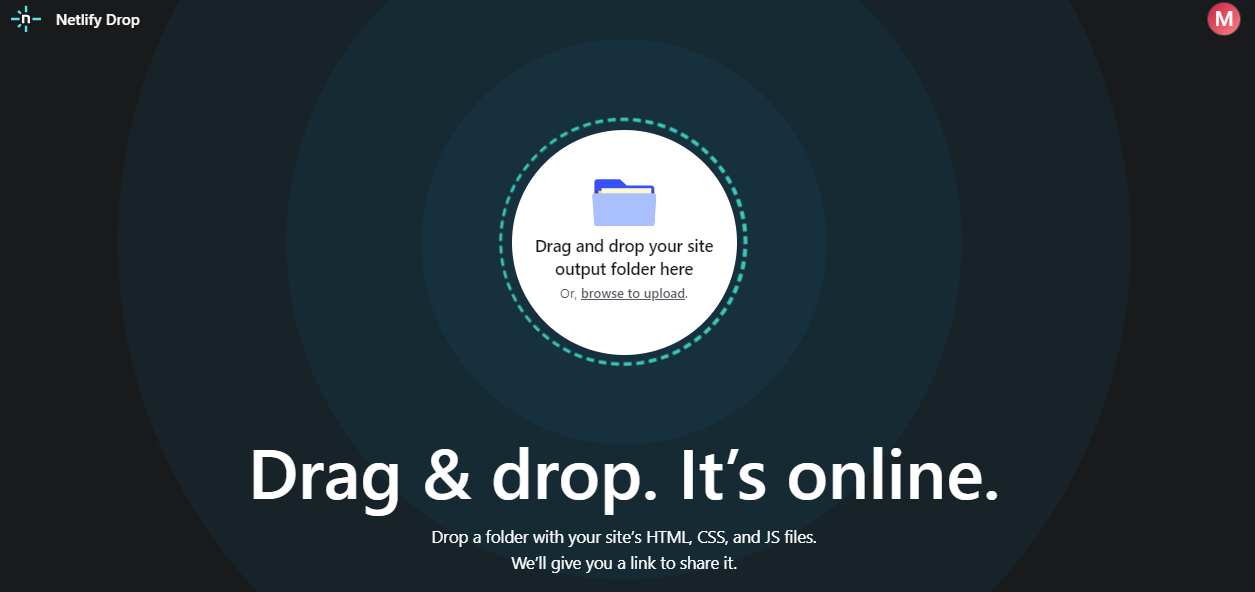
After completing the registration, you will see the Deploy your first project page
Click Try Netlify Drop
Drag the folder containing all files onto the Drag and drop area
Wait for the success message
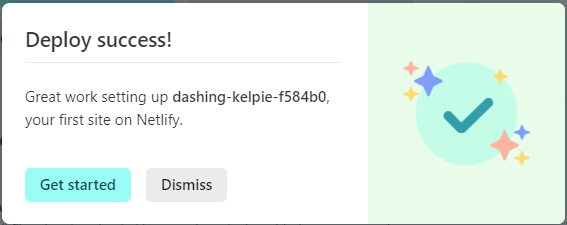
Click on Dismiss
Check Your Site Upload
Netlify will give your website a funny name. It is mainly to ensure your site has a unique name
- Make sure you are on the Deploy screen
- Scroll down and verify the Deploy log shows Post-processing Complete
View your site
Switch to the Site overview screen
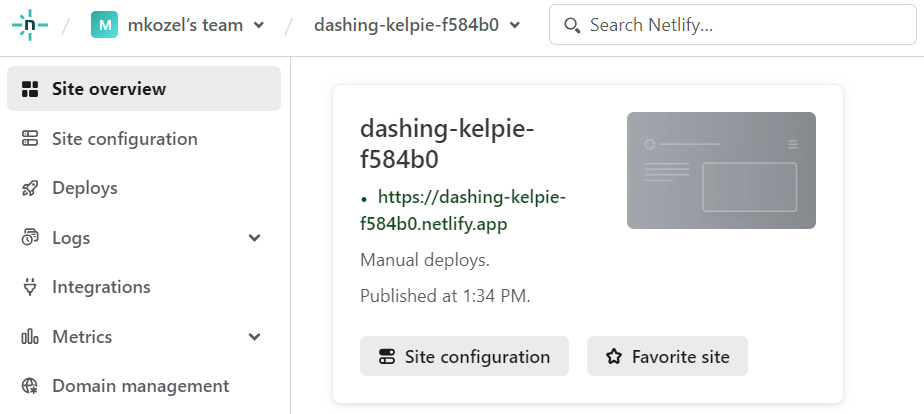
Click on the site's URL (https://dashing-kelpie-f584b0.netlify.app in this example)
Your website will open in a new tab
Check your Website
- Click each link from each page
- Verify the background image is correct
- Check that style settings in your style.css file are changing page elements the way you intended
- View the product page
- Are all images showing the way you intended
- The table look correct
Need to Change Something
You will have modify files on your computer and upload them again Check all updates on your computer using VS Code and Live Server to save time
Edit your website files in VS Code and test with Live Server
If needed (if you logged out of Netlify)
- Log back into Netlify
- In the Team overview page, locate the Sites box. Click on your website
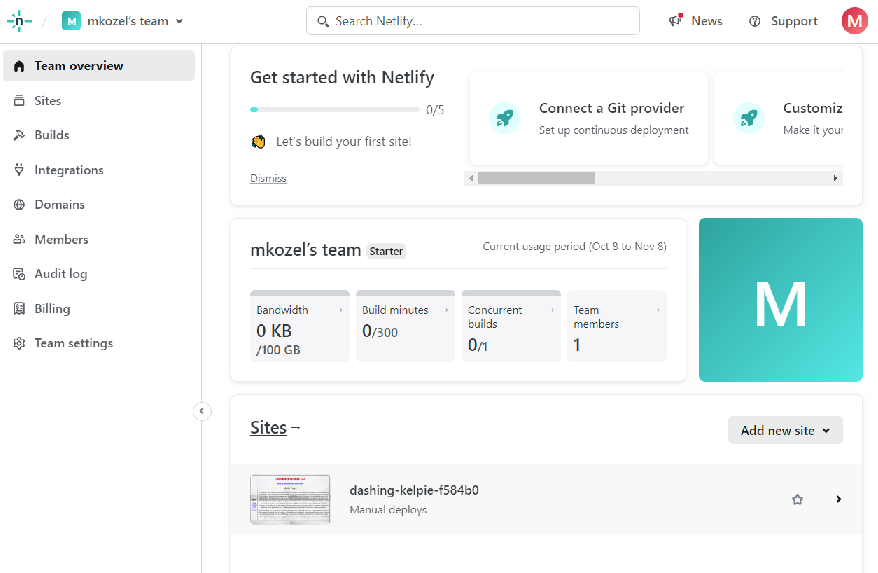
Click to open the Deploy page
Locate the Deploys box
Note that this box says Need to update your site? Drag and drop your site output folder here
Drag the folder here and wait while it uploads
Do the steps in Check Your Site Upload (above), again
Do the steps in View your site (above), again
Do the steps in Check your Website (above), again
Submit your Website on Canvas
- Copy the URL for your new Website
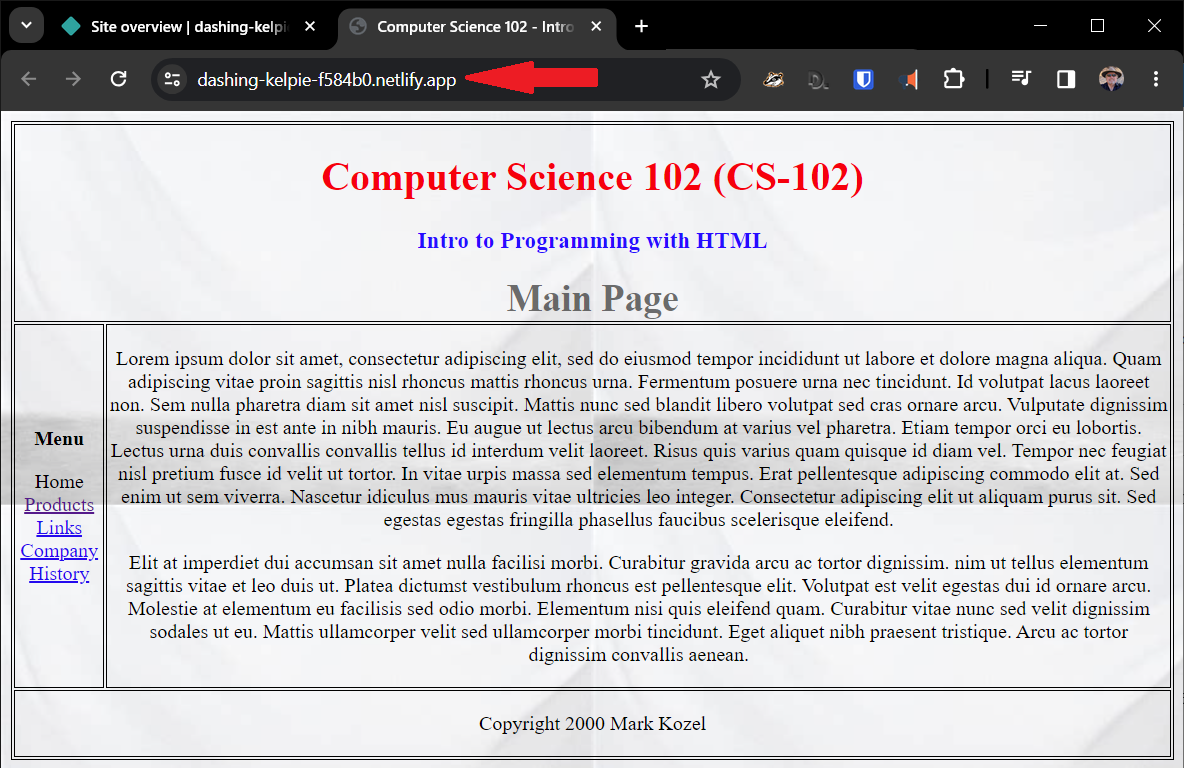
- Paste it in to the assignment submission field in Canvas
Your pages, hosted on the Internet will be displays
You can click the links, view the images, and verify everything is working
Things Don't Look Right?
Verify you uploaded everything
Make sure your main page is named index.html
Make sure you uploaded the files in your assignment folder and not the folder, itself
You can run your site in VS Code with Live Server. If everything works correctly here, it is likely something important did not get uploaded to Netlify
Share Your Work
Your website is now live on the internet. Anyone can see this site if they have the URL. You can, if you like, sends the link to anyone you want to see all your hard work in out class
